

Card Trick
with Matlab GUIs
|
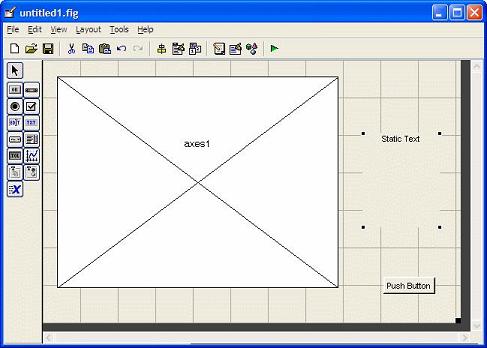
| Tag | axes1 | text1 | pushbutton1 |
| Position | 4 6 75 22 | 84 15 23 8 | 83 6 22 2.5 |
| FontSize | 10 | 10 | |
| FontWeight | bold | bold | |
| HorizontalAllignment | left | left | |
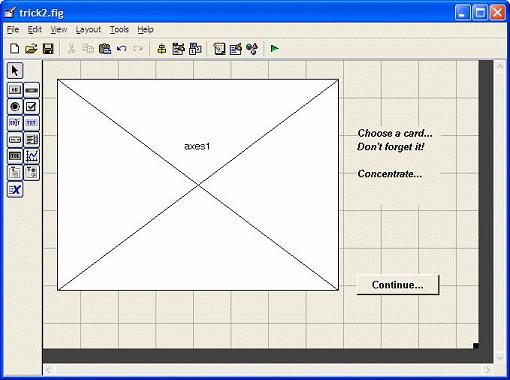
| String |
Choose a card Concentrate... |
Continue... |
The
editor
will open with a prepared template,
where you can edit the callback-functions
for each element involved in the card trick.
For the
opening
function, you can complete it as follows (there are some
comments
included by Matlab, you just have to add the missing lines):
%
--- Executes just before trick2 is made visible.
function
trick2_OpeningFcn(hObject, eventdata, handles, varargin)
%
This function has no output args, see OutputFcn.
%
hObject handle
to figure
%
eventdata reserved
- to be defined in a
future version of MATLAB
%
handles structure
with handles and
user data (see GUIDATA)
%
varargin command
line arguments to
trick2 (see VARARGIN)
%
Choose default command line output for trick2
handles.output
= hObject;
clc
axes(handles.axes1);
bg =
imread('trick2_001.jpg');
image(bg);
axis off;
%
Update handles structure
guidata(hObject,
handles);
%
UIWAIT makes trick2 wait for user response (see UIRESUME)
%
uiwait(handles.figure1);
For the
callback
associated with the push-button,
complete it like this:
%
--- Executes on button press in pushbutton1.
function
pushbutton1_Callback(hObject, eventdata, handles)
%
hObject handle
to pushbutton1 (see
GCBO)
%
eventdata reserved
- to be defined in a
future version of MATLAB
%
handles structure
with handles and
user data (see GUIDATA)
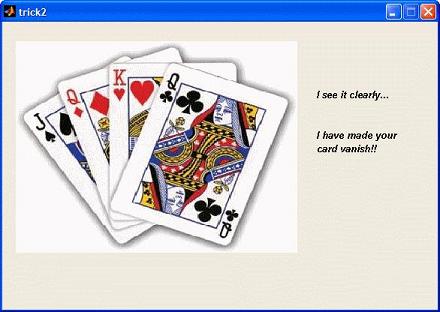
str
= {'I
see
it clearly... ';
'';
'';
'I
have made your card vanish!!'};
set(handles.text1,'String',str);
axes(handles.axes1);
bg =
imread('trick2_002.jpg');
image(bg);
axis off;
set(handles.pushbutton1,'Visible','off')
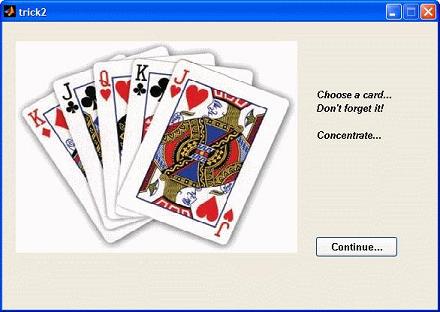
If you download the images and files that I’ve included, and you run the trick2.m file with Matlab, you’ll get this result:
From 'Card Trick' to Matlab home
From 'Card Trick' to GUIs Menu
| Top Another funny GUI Video: create GUIs |

