

Matlab GUI - Basics (Hello World!)
>> guide This will open the ‘Quick Start’ window, where you can study or review their examples, too! For the moment, please follow me and select the fist option: ‘Blank GUI (Default)’. 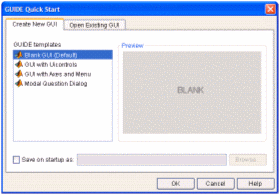 Then, an untitled figure will pop-up. You have some components on the left menu, which you can drag onto your interface. 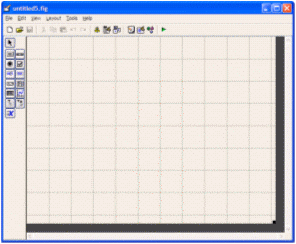 In this example we are going to use only two ‘push buttons’ and one ‘static text’. 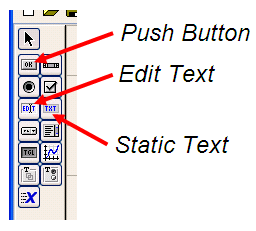 Drag and drop a ‘static text’ onto your Matlab GUI. You can reduce or increase the size of your interface window by dragging its bottom-right corner, as it’s done in other drawing programs. 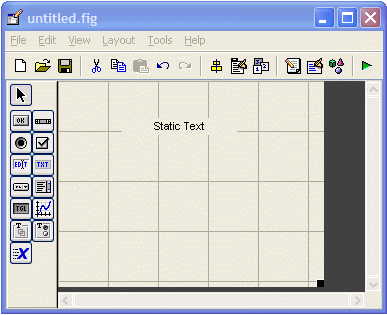 Double click on this ‘static text’ and a ‘Property Inspector’ window will appear. Scroll down and look for the ‘String’ property and delete what's in there. For the moment we want it to be blank. Then, make the ‘Tag’ property to be ‘output_line’. You can use whatever name you want, but ‘output_line’ seems good to me... (hehehe) Your windows must look similar to what I’m showing here: 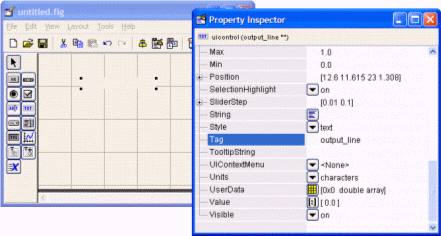 Then, drag-and-drop a ‘push button’ onto your interface. Modify its ‘String’ property to read ‘Launch Message’. Let its ‘Tag’ property intact. You could change this tag... it’s the name or identifier of the object as it’s going to be recognized in the rest of the code. Your windows must look similar to what I’m showing here: 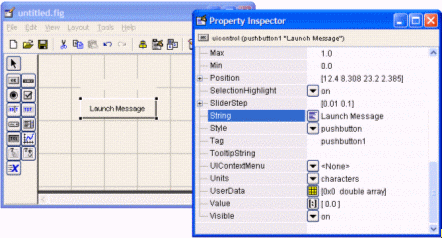 Drag-and-drop another ‘push button’. Modify its ‘String’ property to read ‘Clear Message’ and leave its ‘Tag’ as it is. You’ll produce these results.  Now, right-click on the ‘Launch Message’ button and choose ‘View Callbacks’ -> ‘Callback’ 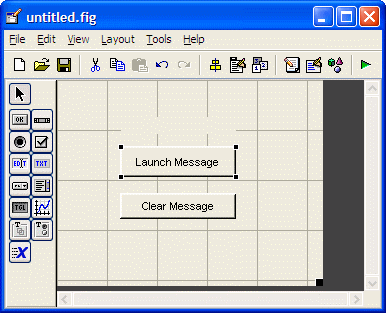
The ‘Callback’ functions are the instructions that will be executed when the user pushes the buttons or does something with the components that you have included in your Matlab GUI. In this case, you’ll see something like this code. % --- Executes on button press in pushbutton1. A ‘set’ instruction sets the properties of the elements that you indicate. Do you remember that you have a ‘static text’ with the tag (identifier) ‘output_line’? We are going to modify it when the user pushes the button with the string (or label) ‘Launch Message’. This is accomplished with the instruction set(handles.output_line,'String','Hello World!!') So, the result is that when the user presses the ‘Launch Message’ button, a message reading ‘Hello World!!’ will appear in the ‘output line’ (officialy named ‘handles.output_line’). Add this single line to the code, so that it looks like this: % --- Executes on button press in pushbutton1. We’ll do something similar to the ‘callback’ corresponding to the ‘Clear Message’ button. So change this original code... % --- Executes on button press in pushbutton2. % --- Executes on button press in pushbutton2. The result is that when the user presses the ‘Clear Message’ button, a blank message will appear in the ‘output line’ (officialy named ‘handles.output_line’). Magic is about to happen! Now, run your interface by clicking the ‘run’ icon at the top of the editor window... 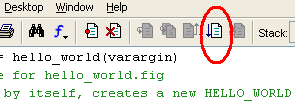 and... presto! a ‘hello_world’ window has appeared! It’s your first Matlab GUI! 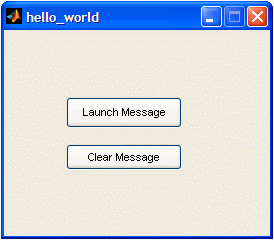 Try, it! Press the ‘Launch Message’ button... and an interesting message appears... 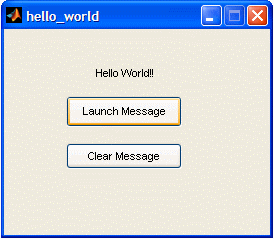 then, press the ‘Clear Message’ button... 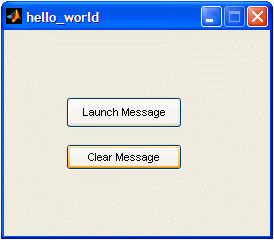 Well done! You did it! So, let’s summarize:
set(handles.tag_of_your_component, 'Property', value) From 'Matlab GUI' to home From 'Matlab GUI' to 'GUIs Menu'
|

